So where do things stand with the tiny cabin project?
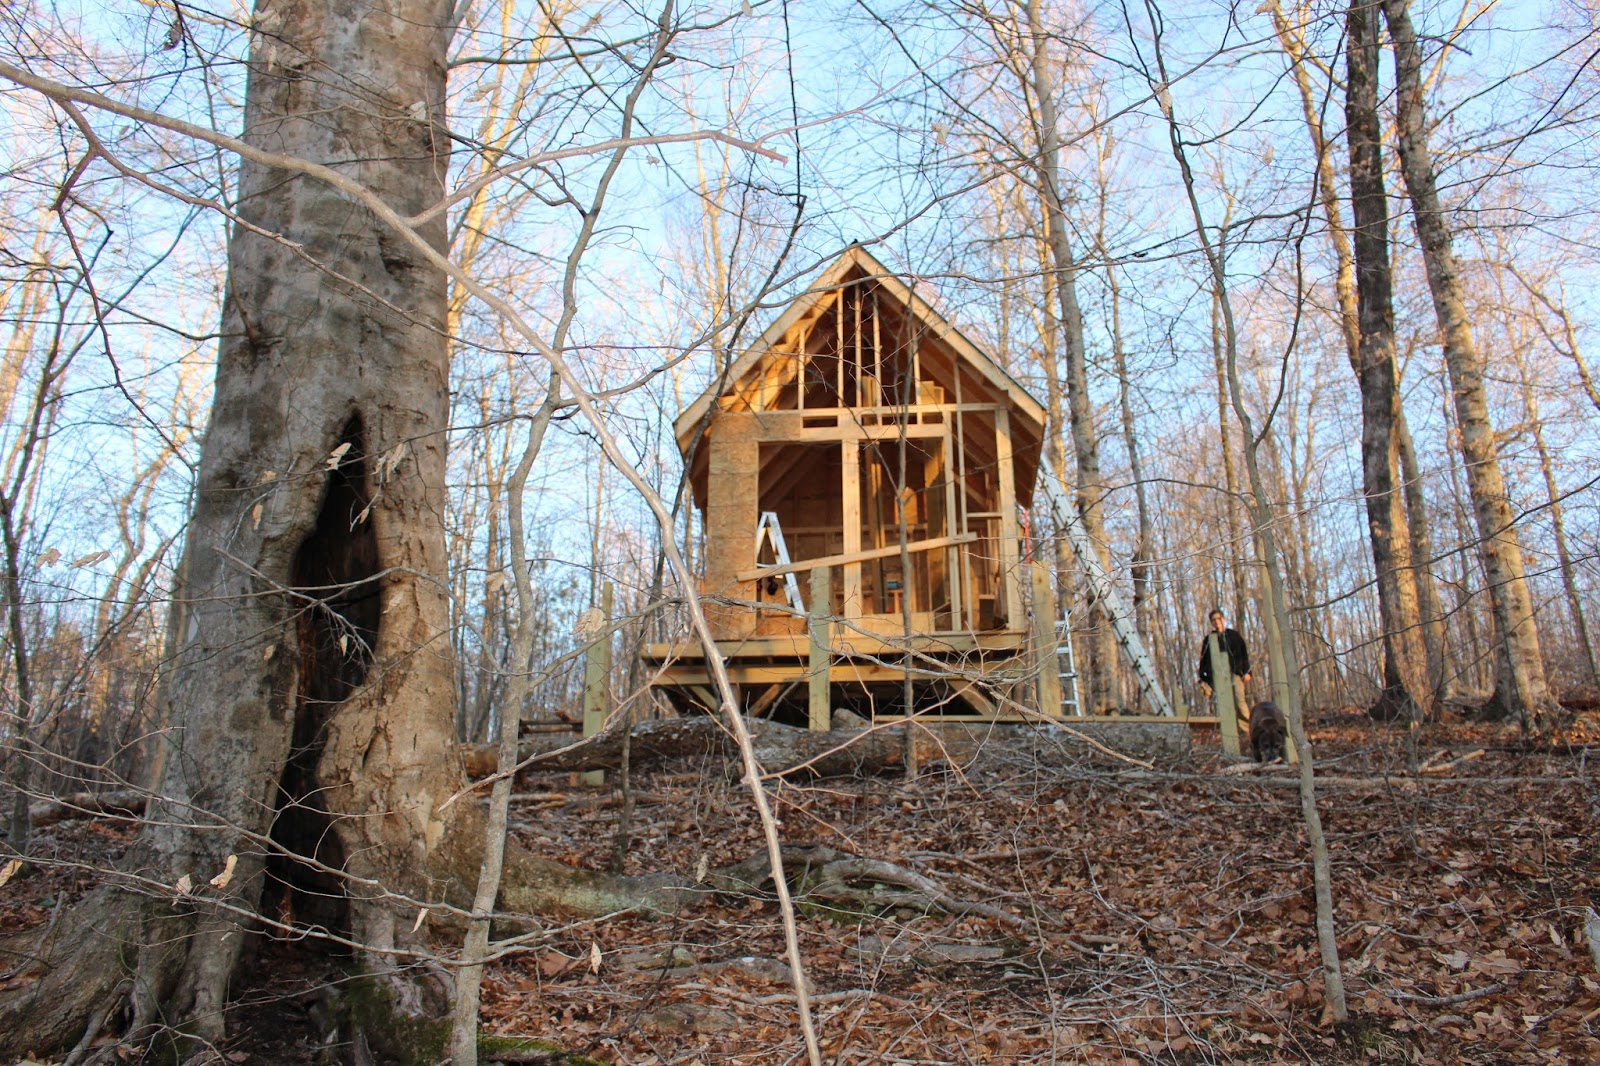
i) Over the Christmas break we more or less got the roof rafters in place and ready to put the sheathing on
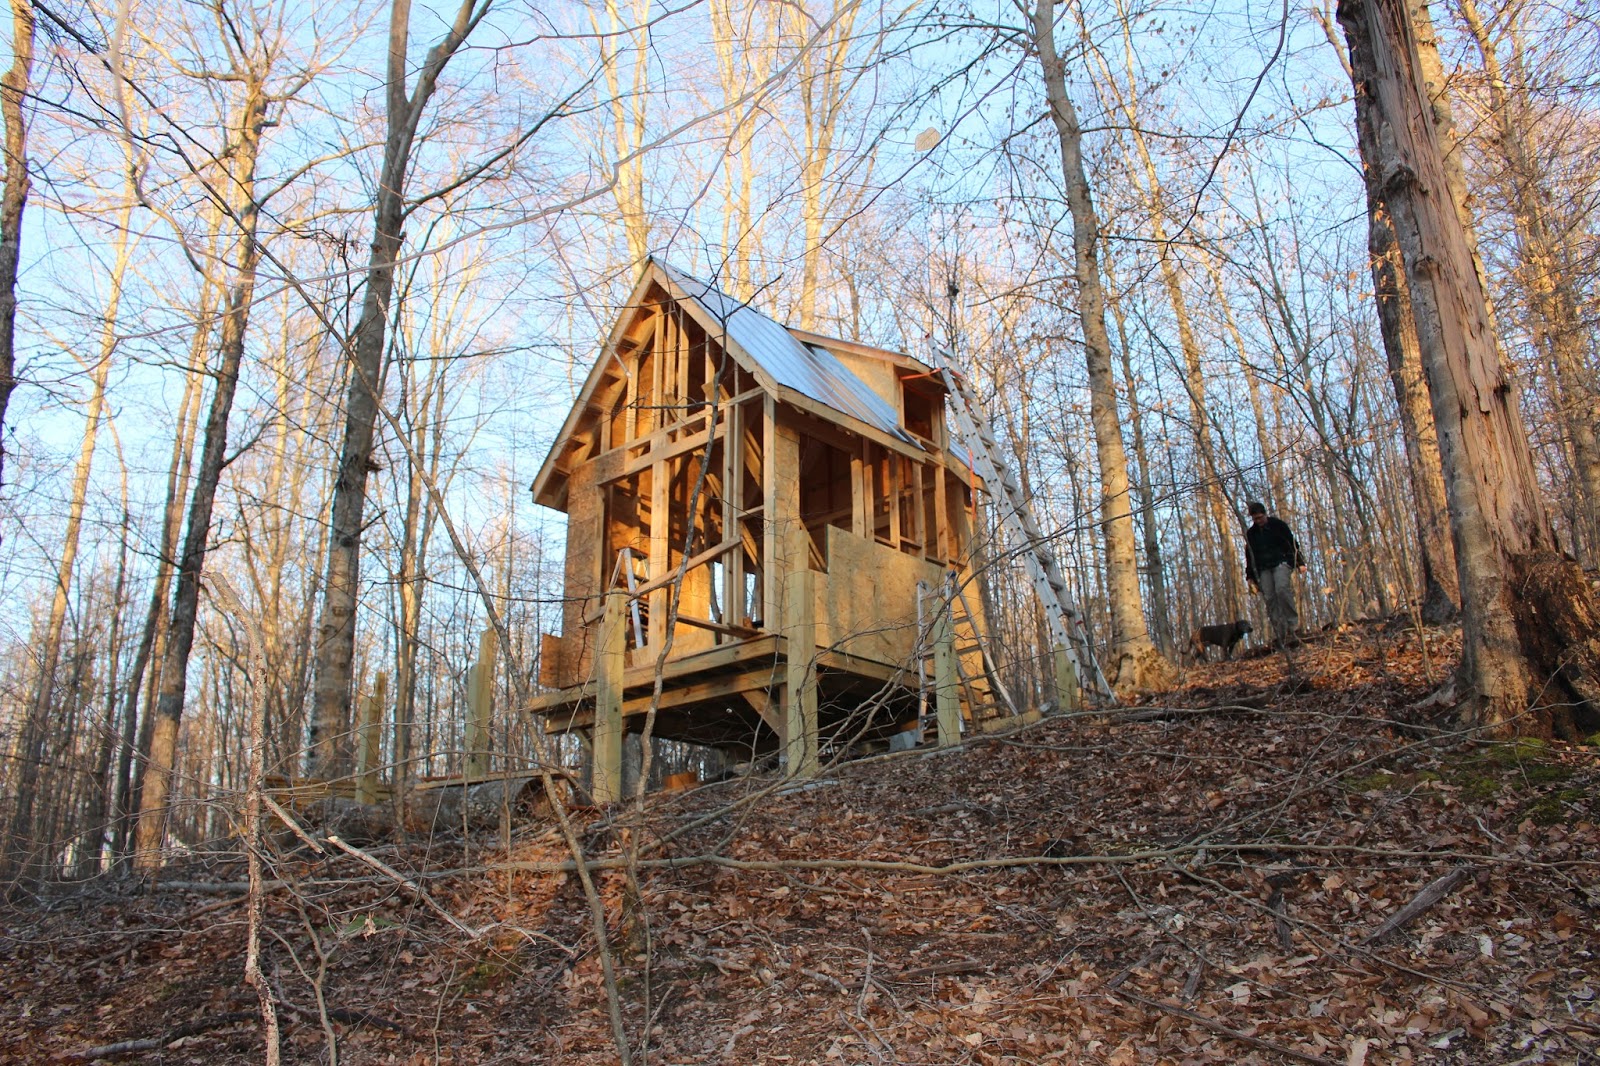
ii) We installed the deck posts around the cabin and purchased the materials for it.
iii) We received our doors and windows from Home Depot and they are in storage ready to be installed after the dry-in
iv) the portable generator broke down and we had to order a new part which took a couple of weeks
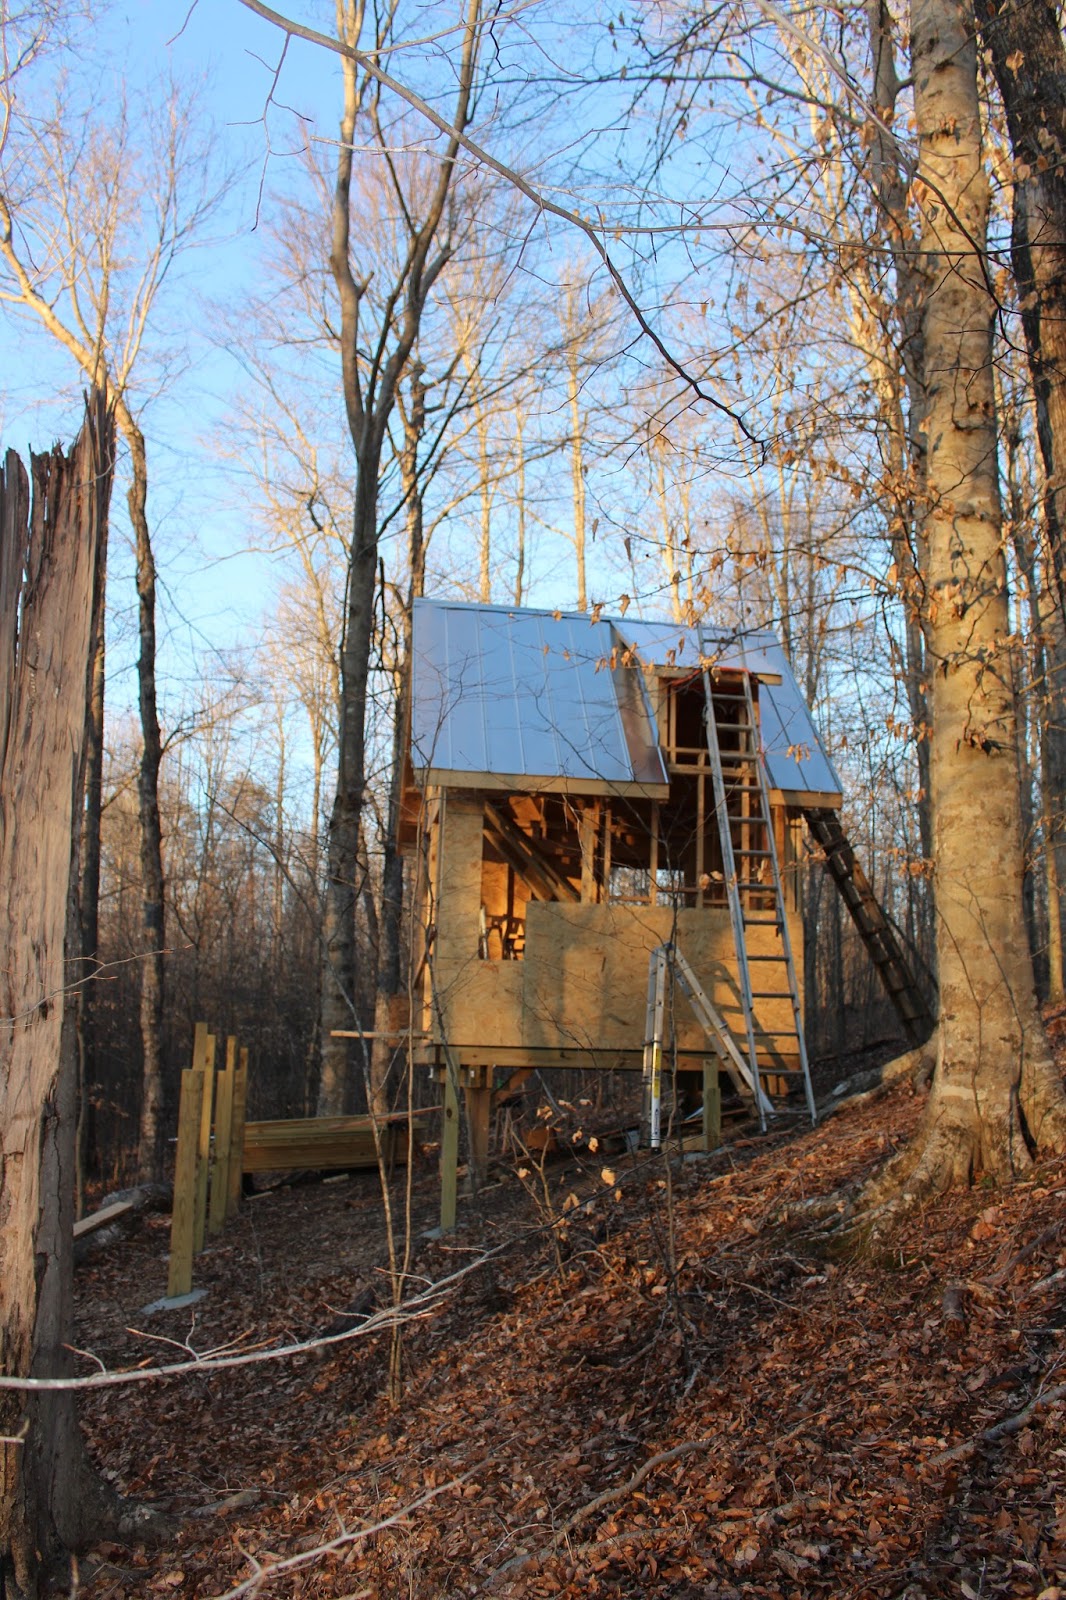
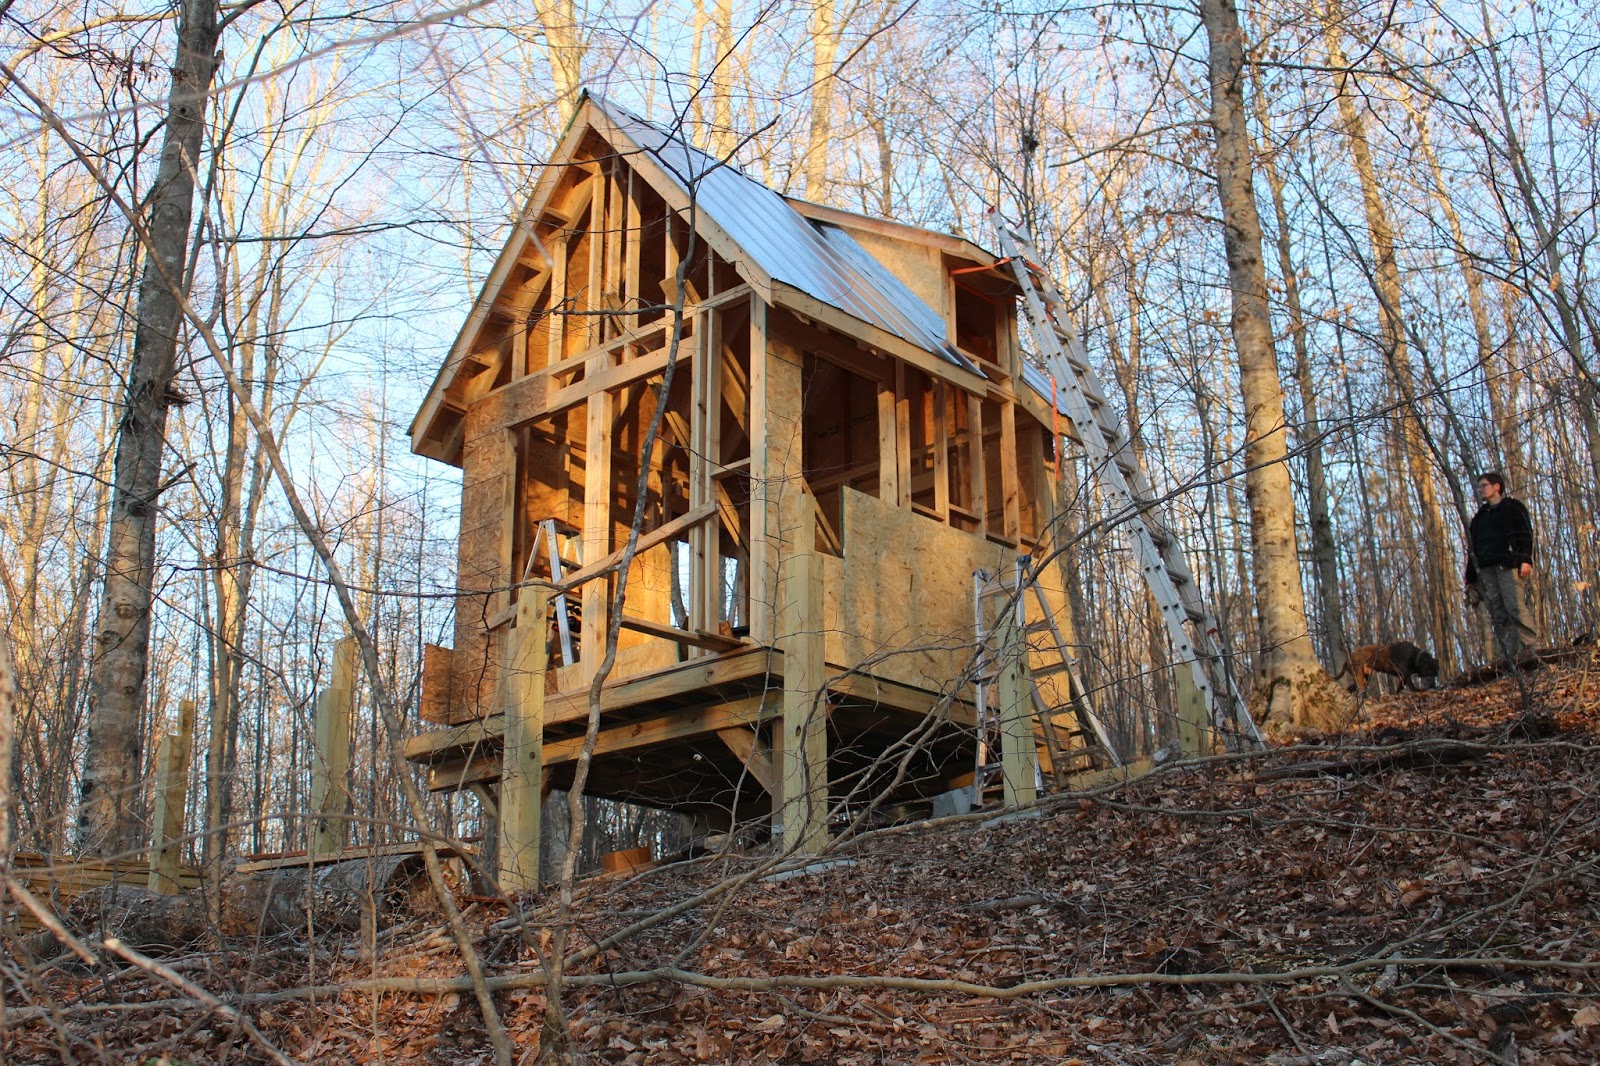
v) we installed one side of the overall roof sheathing and metal on Jan. 16
It is important to get a roof on the building as soon as practical to keep the framing members dry to prevent the onset of rot and wood warpage. For us we had a lot of inclement weather in late December which prevented us from getting up there to start that phase of the project. To prevent as much water ingression as possible we placed a tarp on top of the rafters to prevent direct rainfall soaking the plywood floor and wall frame.
I persuaded my neighbor (the fellow who built our pole barn/shop) to assist with the roofing and he graciously came out on Jan. 2 only to have our generator promptly breakdown when we tried firing up the air compressor for the nailer. One realizes how important electricity is to the continuity of any project only when it isn't there and when you bring in a professional framer on his day off to help! He packed up and said he'd be back when the generator was back working. I returned home that night and researched what might have caused the generator to quit. The main symptom I observed was that the motor would turn over and run normally but it would
not generate power sufficiently to operate any tools. I gleaned from my internet research was that it was most likely a voltage regulator issue that I had. My generator is a
3.65 kW Homelite with the capability to handle surges up to 4.55 kW. I looked up the part number from the generator manual and found that this machine uses a
run capacitor which looks like
this. The nice thing was that it is a simple matter of undoing four bolts that hold the housing on and the capacitor sits inside it with two wires attached that just slip off. When I removed the part I could see immediately this was the part that got damaged because it was slightly bulging on all six sides from overheating. In retrospect it probably burned up when I had negligently left the well pump plugged in during a cold start-up the week before. Generators like to be on and running steady-state before a load is applied - especially big ones. The well pump is 3/4 HP, 240VAC sitting at 350' below the ground and even when the genny is running warm and steady it bogs down when the well pump kicks on. Nevertheless we got the part (and a spare!) re-installed with little effort and we commenced with the roofing.
 |
| David and Scott intalling roof sheathing |
David convinced me to invest in a
pneumatic framing nailer to speed up the project. Since he was offering his free time to build my roof I figured it was worth the cost and would likely use it on other projects to come. The truth is it is a dream to use and productivity goes up about three-fold over screw fasteners. The downside is that mistakes may take much longer to fix if disassembly is required.
 |
| 30# felt (tar paper over the OSB sheeting) |
 |
| Half the metal on |
 |
| David and Scott finishing up metal roof installation |
The metal we chose to install is called
5V crimp. We used 26 gauge, 2 foot wide panels. It is easy to work with and relatively inexpensive. It comes in 8, 10 or 12' lengths fastened with
special screws to seal out water.
So with concurrent projects going on we are very busy and never for want of something to do while we're up there. The deck surrounding the cabin will be worked on again in earnest after the roof goes on and we'll sheet the walls and tack on the membrane in coming weeks.
 |
| Deck posts set during Christmas break |